Showing posts with label eco-friendly. Show all posts

Jun 22, 2011

A new favorite site!

Look at how beautifully simple and organic these pictures and decorations are.  They were used for a wedding in California.  Now, you probably think the look even too simple, but believe me, this took so much time and effort because once you take a look at the rest of the decor and ideas, you will be in awe...just like me!  I love how every detailed mattered!

So, these featured weddings are actually from a new site I found a few weeks back and I'm liking everything on it.  It's different and down-to-earth.  It's refreshing and easy on your eyes with still amazing elegance and sophistication.  I've even been inspired for parties and home decoration!  Well, Green Wedding Shoes is the name of this wonderful site.  Check them out and be inspired!  If you have any friends asking for advice on decorations or wanting ideas and yearning for something unique, send them over and let them thank you later.  There are also DIY tutorials so there's no reason why one can't use everything they have to offer from a glance!

Apr 8, 2011

Charming gift container

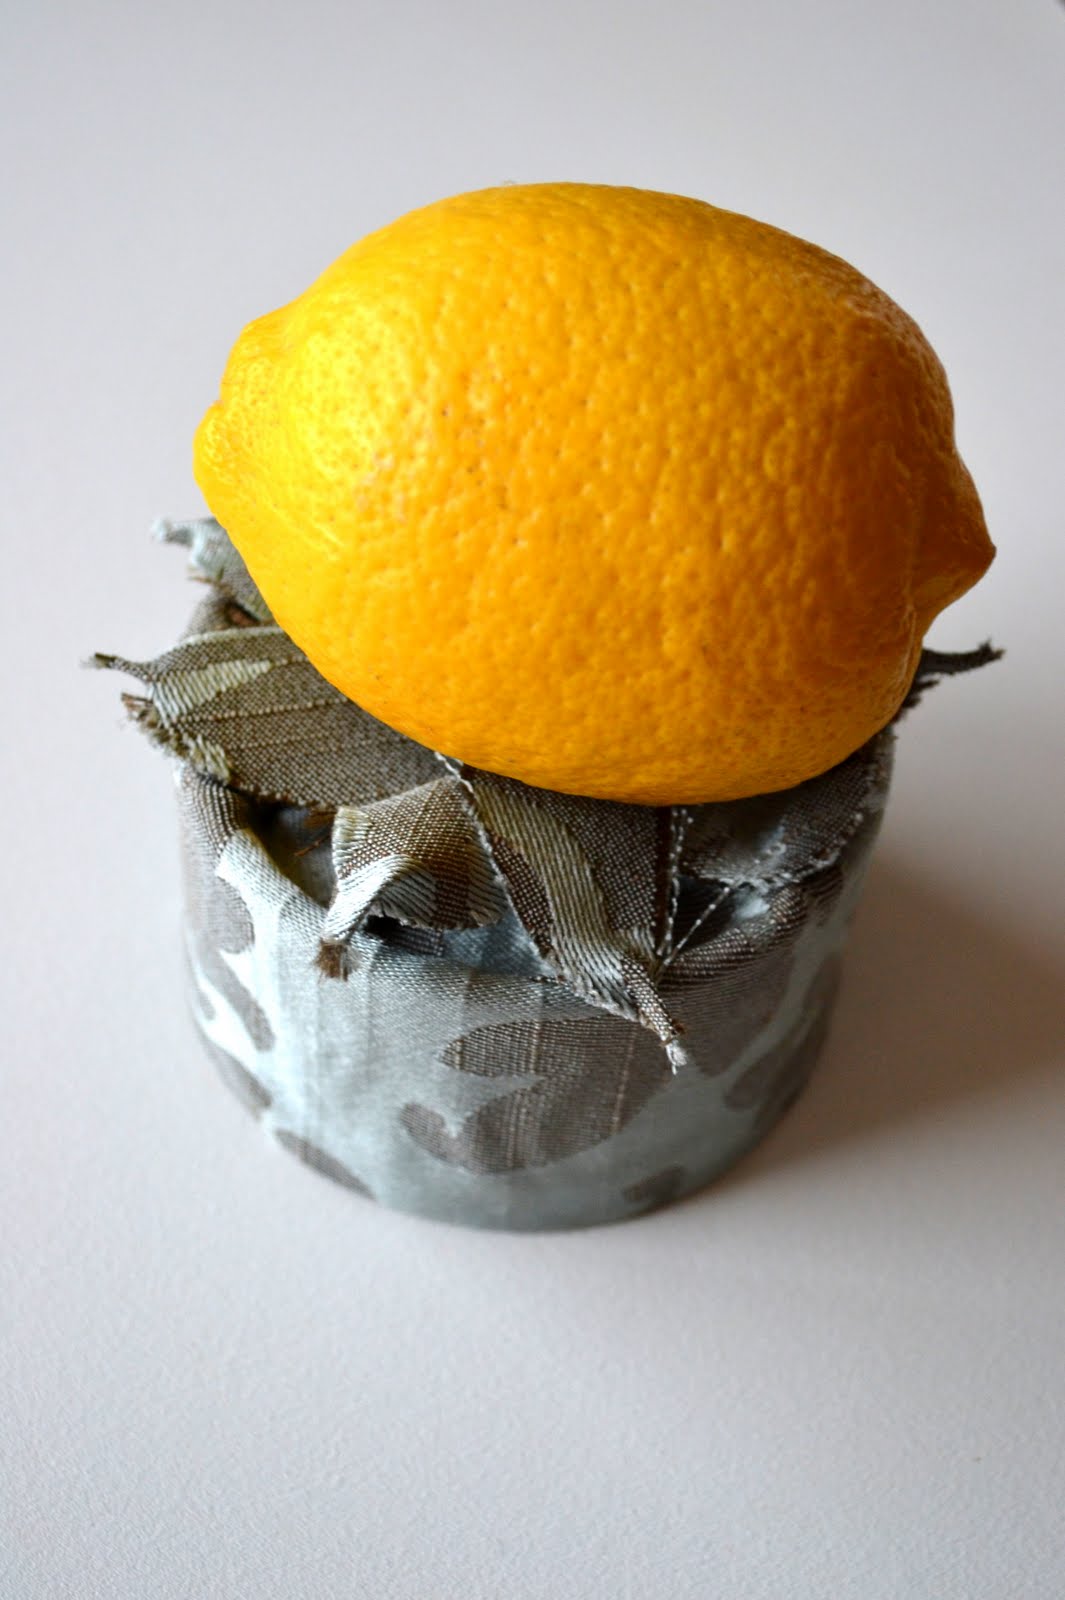
 I made this out of a wall vinyl lettering container bought from a craft store.  It was a plain, but sturdy cylinder container and I thought of repurposing it instead of throwing it away.  I think it turned out great and I can't wait to put in some trinkets or another hand-made gift inside for someone special very soon.  It functional, and reusable, how much better than that can you get?  You can even decorate for holding kid's crayons and paper for traveling, or special notes for someone in your life.  I just love the possibilities!


Here's how to make your own:

YOU WILL NEED
Hot Glue Gun
Material to cover the container (as much to cover every inch, and a little more)
Scissors

MAKE IT
1.  Glue gun your ribbon to the sides at opposite end on the lower half of the container.  Leave plenty of ribbon to tie over the top and still make a bow.  Usually 2 times the height of the container.
2.  Measure out a square piece of the cloth or material you will use to cover to have and cut out a large square.  Make sure the corners of the square are long enough in diameter to cover almost up to the top.  I used a very symmetrical way to cover the lower half of this container, but you can do it how ever you like.  Make sure you hot glue and hold just a few seconds to make secure.
3.  Cover your top  first on the sides with hot glue, leaving extra material to fold on top and make it seamless.

4.  Then, cut out a circle of the material the same size as the top's diameter and hot glue to secure.
5.  Finally, decorate with a flower made of the same material at the very top, gluing only at the center of each layer to let the "petals" have movement.  Get creative and make the "topping" unique.  The more you diversify with the same material you use, then the more delicate of a feeling you can achieve.  Otherwise, get colorful and make sure you match your colors well.

You can use any sturdy container you buy and keep it to cover and decorate for a gift to give with a surprise inside.  Don't limit yourself, challenge yourself!  The more you try, the better you get ;-)

Mar 12, 2011

Making flowers

Well, I've been on a quite a busy trip these past two weeks and a lot of things have come up that needed my special attention, but I'm back and of course, I did some projects while I took a break from blogging.

So, my husband bought me a new camera, the Nikon D3100, ooohh!!!! Yeah, I'm happy and super giddy still.  He bought over a week ago and I absolutely have fallen in love.  It's so awesome!!! Anyway, I can't give you the details right now, but check out this review from Ken Rockwell's site.

For this tutorial, I used the left-overs of an old shirt I had.  So, on to the flower-making...
Pretty, huh?  It's super easy and fast to make, plus a little addictive, I have to admit.

YOU WILL NEED
Any material cut into circles, free hand (about 10 plus circle for each plushy flower, or 6 for scarce ones)
Hot Glue Gun
Scissors
Felt circle for bottom (optional)

MAKE IT
1.  First, decide whether or not your material will fray after being handled a bit in circles, if it will, then you can GENTLY burn off the edges to seal them with fire.  I use candles.  You can use even matches.  In this particular flower I really wanted a slight browning to the edges and had to let it burn just a bit more.  Then, Fold each circle in half and dab with a bit of glue in the center near the fold and fold in half again.  Like so:

 2.  Glue one circle (the biggest one) to a felt and crinkle a bit.  If you don't have the felt, just glue it onto another circle you cut out.  Now, fold and like on step 2 for the remainding circles.
3.  Now, glue you folded circles, from the pointed tip, on the center of your base circle all around, layered for fluff, or evenly spread out for a scarce flower.

4.  When you're done, add the center to the flowers with glue and squish in to crinkle and give a bloomin'-like-feel.  If you want some sparkle, add a glitzy botton in the center or even feathers, or pearls.  make it yours!

You're done!  Now, attach this to any other object that's too plain.  I used this for my camera strap cover I made, but I've attached some to my headbands, bags, presents, hats, scarfs, you name it.  The reason for the felt is because it can handle a bit more glue gun with out seeping out.  Also, I hand sew a clothes pin to the back often times to make it interchangeable with other stuff I want to personalize a lil' more ;-)

The possibilities are endless.

Mar 2, 2011

Fresh herbs and your kitchen

Ever since we've moved to a new place last year, I've been needing some air in the house!  It's a great location and condo to live in, but in Utah the winter keeps people indoors for a LONG time.  I wanted something to do.  I needed some sun!!! I needed some fresh oxygen!!  Then, of course in my head, I thought of plants.  What a better way to bring life to this new place?  I can also teach my son about growth and mother nature besides reading books to him all the time.  So, as I shopped for some necessities one day, I quickly took a look at the clearance isle at one of our local general stores.  I saw that there were herb plants for only $1.50!!! Including a small planter with cute letters.  I had to get it!!!
So, here it is.  My son(19 months then) and I planted these and finally saw our parsley spring out lively and fresh!  I love cooking and having this a way better option than the dried version I usually buy.  Now, the only reason I buy dried herbs for cooking is because when I buy the fresh herbs, they go real bad or dry up.  I'm no specialist to keeping herbs potent nor do I know how to make sure it's still safe to eat.  So I buy the cheaper, dry herbs to add to my dishes when I'm cooking.  Recently, I bought a mint plant as well and boy is that smell strong!  I use mint for teas and I love it!!!  Tea can be therapeutic, medicinal, and healing.  Here's a quick recipe for making proper tea.  This is a general rule for most teas so they can be actually still potent and make an effect.
YOU WILL NEED
Water for boiling
Pot
Herb
Honey for sweetening because it's healthier and medicinal (sugar[even Splenda] defeats the purpose of taking in such rich nutrients and actually ferments in your stomach)
MAKE IT
1.  If this is just for you, then boil a little more than 2 cups of water and follow this general rule for more people.  This should boil for about 10 minutes on medium heat.
2.  After you see bubbling water, lower it to simmering heat and add the herbs.  Let this simmer and boil for about 10 more minutes.  This allows the herbs to soften and let out it's flavors and nutrients.
3.  Now, remove it from heat and let it stand until it's safe enough to consume.  After you pour the tea into your cup, quickly add some honey.  Natural honey the best, from bees.  It enhances the flavors and the aroma is incomparable!!

BEWARE:  Tea should not be left standing for more than 7-12 hours, depending on the herbs being used.  Please, be aware that I do not cosume black tea, nor weight-loss gimmick teas.  My advice is for general consumption of Chamomille(manzanilla), Mint, and other common household herbs.  If you would like a tea for a specific issue or want to know more about herbal uses visit:

Now enjoy! Buen provecho!

LinkWithin

Related Posts Plugin for WordPress, Blogger...